Revolved Head to Knee Pose (Parivrtta Janu Sirsasana)

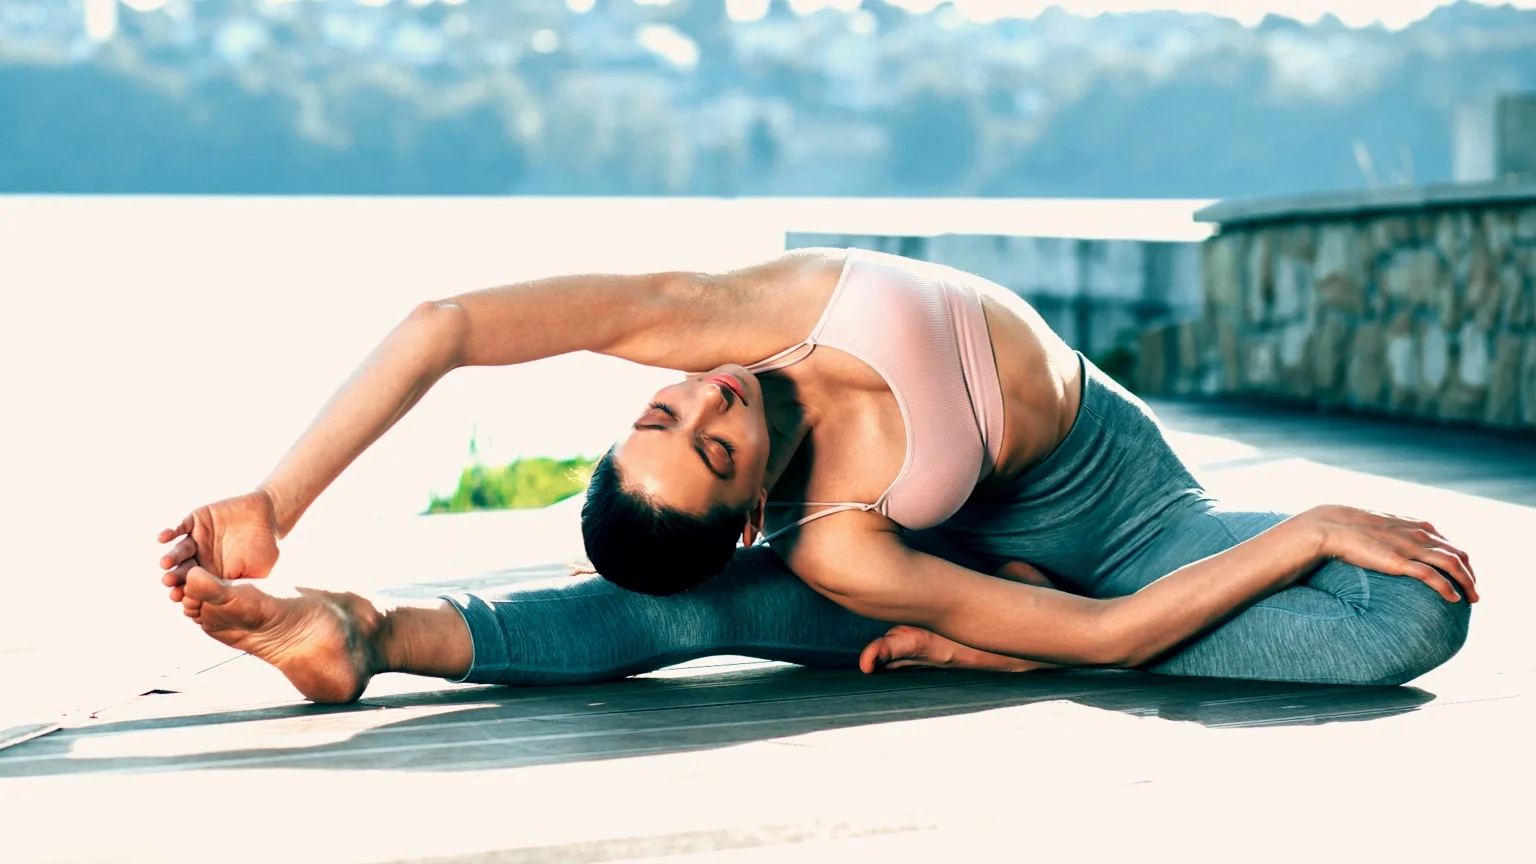
The Revolved Head to Knee Pose, also known as Parivrtta Janu Sirsasana, is a type of seated yoga pose. In this pose, you sit with one leg fully extended and the other bent into your groin. You then lean your torso towards the extended leg, reaching your arm over to create a deep side bend.
- Position: Seated.
- Stretched body parts: The Revolved Head to Knee Pose provides a deep stretch to your hamstrings in your extended leg and the side of your torso. It also stretches the muscles in your shoulders and neck.
- Benefits: Regular practice of this yoga pose can enhance your flexibility in your hamstrings, shoulders and spine. Because the leaning motion compresses your abdominals, it can provide stimulation that may help digestion.
- Similar poses: Head-to-Knee Forward Bend (Janu Sirsasana), Revolved Triangle Pose (Parivrtta Trikonasana), Revolved Half Moon Pose (Parivrtta Ardha Chandrasana).
Meaning of Parivrtta Janu Sirsasana
The name “Parivrtta Janu Sirsasana” is derived from four Sanskrit words:
- “Parivrtta” means “to turn around” or “revolve”;
- “Janu” means “knee”;
- “Sirs” means “head”; and
- “Asana” means “pose”.
Put together, the name “Parivrtta Janu Sirsasana” translates literally to “Revolved knee [to] head pose”.
How to do The Revolved Head to Knee Pose
- Sit on your yoga mat with your legs extended out in front of you. Keep your arms by your sides. This starting position is the Staff Pose (Dandasana).
- Bent your left knee and rotate your leg out to your side. Place the sole of your left foot against your inner thigh.
- Rotate your right leg out to the other side, keeping your leg straight and fully extended.
- Inhale and raise your arms above your head. Stretch up to lengthen your spine.
- As you exhale, lean your torso to the right and fold over your straight right leg.
- Reach over with both arms and hold onto your right foot. You lower arm should be bent at the elbow, but try to keep your upper arm slightly rounded all the way through.
- Keep your gaze forwards, with your head slightly tilted to accommodate the reach of your arm.
- Hold for 5-10 breaths.
- Inhale, and lift your torso back to the upright position, and return to the Staff Pose (Dandasana).
- Now repeat for your other side.
Variations
- For extra support: If you find it hard to reach your feet, use a yoga strap around your foot and hold onto that.
- Easier variation: Rather than reaching for your foot of your extended leg, simply reach as far as you can. You can keep your upper arm extended above your head or simply bend your elbow and place your hand on your upper thigh or knee.
- More challenging: Instead of keeping your bent leg tucked into your thigh, open up your hip and extend your leg out to the other side. This will increase the stretch in your hip and inner thighs, but will command greater skills of balance.
Tips
- Warm up with some prep poses before attempting Revolved Head to Knee Pose. Since this pose involves a twist, hip opener and hamstring stretch, try some simpler poses that get your warmed up in each area.
- Use your breath to position yourself into the pose. Inhale as you lengthen your spine and exhale as your lead into the pose.
Prep poses
- Bound Angle Pose (Baddha Konasana) – Bound Angle Pose is a yoga pose that opening your hips and stretches your inner thighs, making it a great grep pose for The Revolved Head to Knee Pose.
- Wide-Angled Seated Forward Bend (Upavistha Konasana) – Another great hip opener, this pose also has a bending action that encourages you to stretch and maintain a long spine. This can help prepare you for the more complex Revolved Head to Knee Pose.
- Reclining Big Toe Pose (Supta Padangusthasana) – This pose is performed laying down and involves you raising one leg up into the air, and reaching to it with your arm. It’s a great exercise to stretch and warm up your hamstrings ahead of more advanced poses.
- Intense Side Stretch Pose (Parsvottanasana) – This is an advanced yoga pose that is performed standing. It stretches your hamstrings, quads, glutes, hip and spine.
